Playstation 4 Controller
With only a month to complete this project from start to finish—while juggling five other courses—I’m fairly satisfied with how this PlayStation controller turned out. Given more time or a lighter course load, I would have loved to refine a few elements and add some missing details. But the challenge of working under tight constraints taught me a lot about prioritization and efficiency.
The process began with gathering a plethora of reference images. Having an actual PlayStation controller on hand was a huge help as I could study its design in real time, paying close attention to the proportions, curves, and details. Armed with this knowledge, I headed into Maya, where I uploaded orthographic views of the controller to guide my modeling.
The body of the controller proved to be one of the most challenging aspects to get right. Its organic, curving shape didn’t lend itself well to traditional hard-surface modeling techniques. Looking back, I think using ZBrush for this phase might have been a better choice, as it would have allowed me to smooth and sculpt the form without the constant worry about vertex placement. Still, I pushed through, shaping the geometry in Maya as best I could.
Once the base model was complete, it was time to prepare for texturing. I organized all the geometry into a folder for the low-poly version, then duplicated it and smoothed out the meshes for the high-poly version. Each piece of geometry was assigned a standard surface shader, and I renamed the shader nodes for easy navigation in Substance Painter. With both folders exported as .FBX files—one labeled PS4_HI and the other PS4_LO—I was ready to dive into the texturing process.
In Substance Painter, I began by baking the high-poly details onto the low-poly geometry, creating a solid foundation for realistic textures. This phase was both exciting and nerve-wracking, as the baked maps would determine the quality of the details moving forward. Once the baking process was complete, I applied materials to each part of the controller, using my reference images to carefully adjust the roughness, gloss, and texture of each surface.
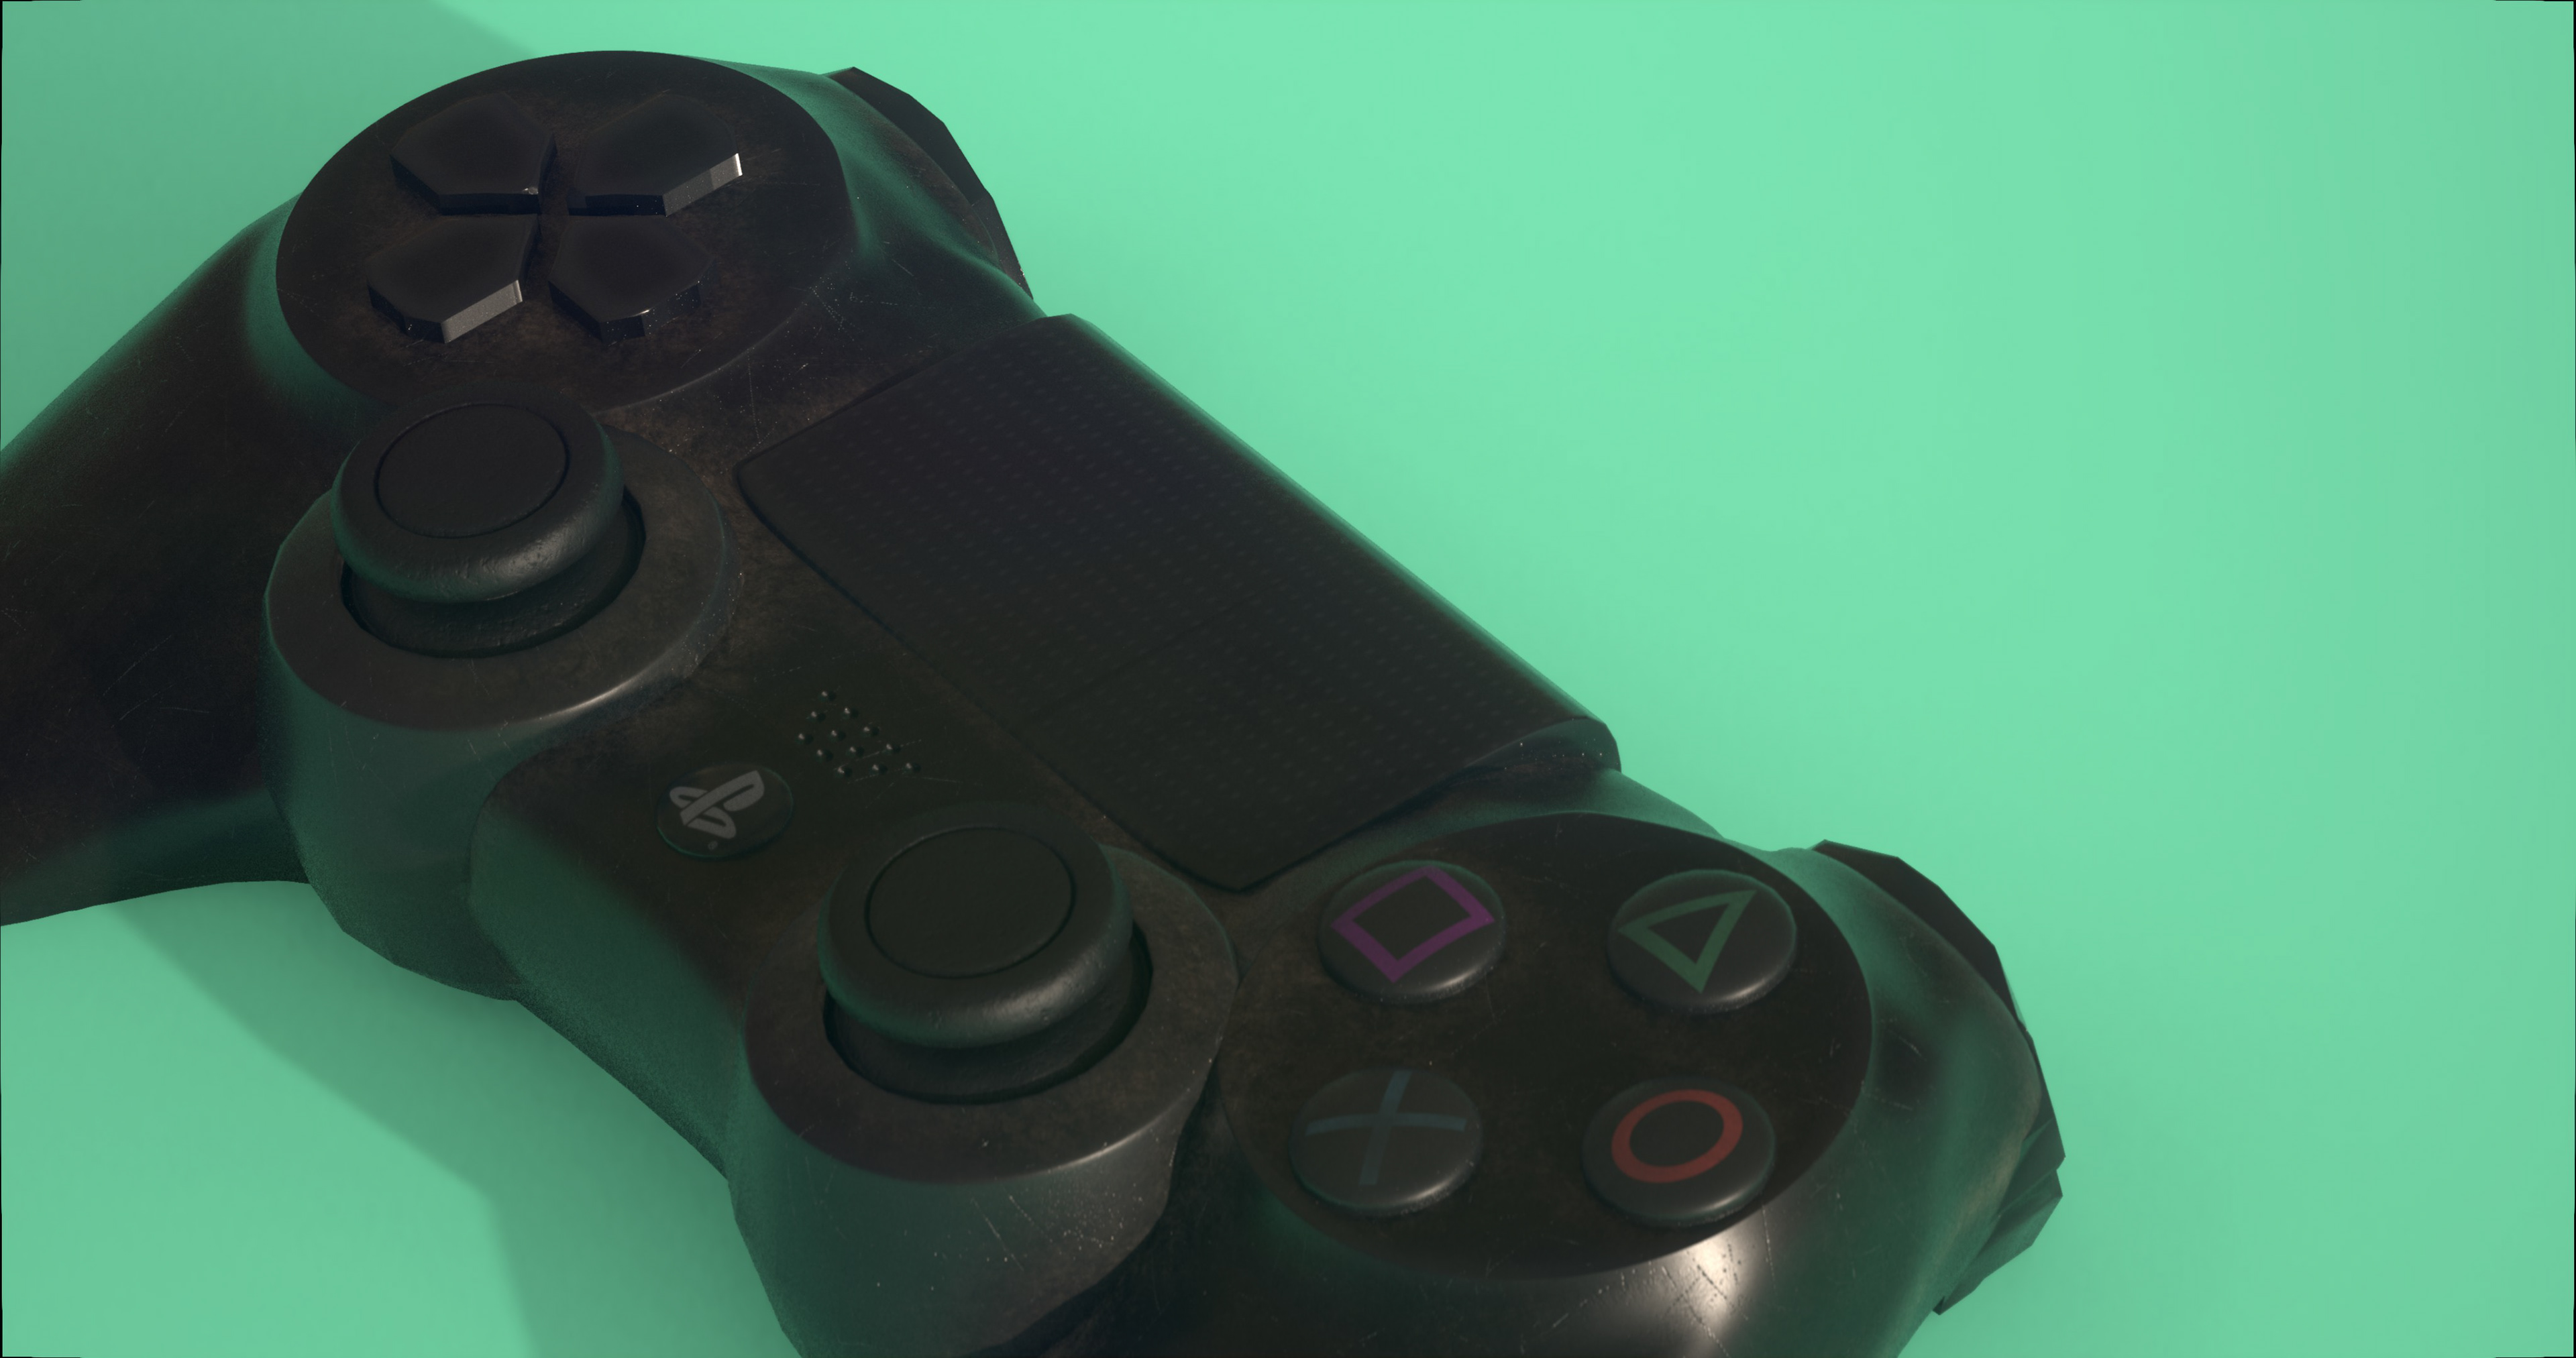
One of the highlights of the project was working on the decals. I sourced high-quality PNG files for the PlayStation button symbols and other markings, then projected these decals onto the model in their proper locations. This step brought the controller to life, adding those instantly recognizable details that give it its iconic look.
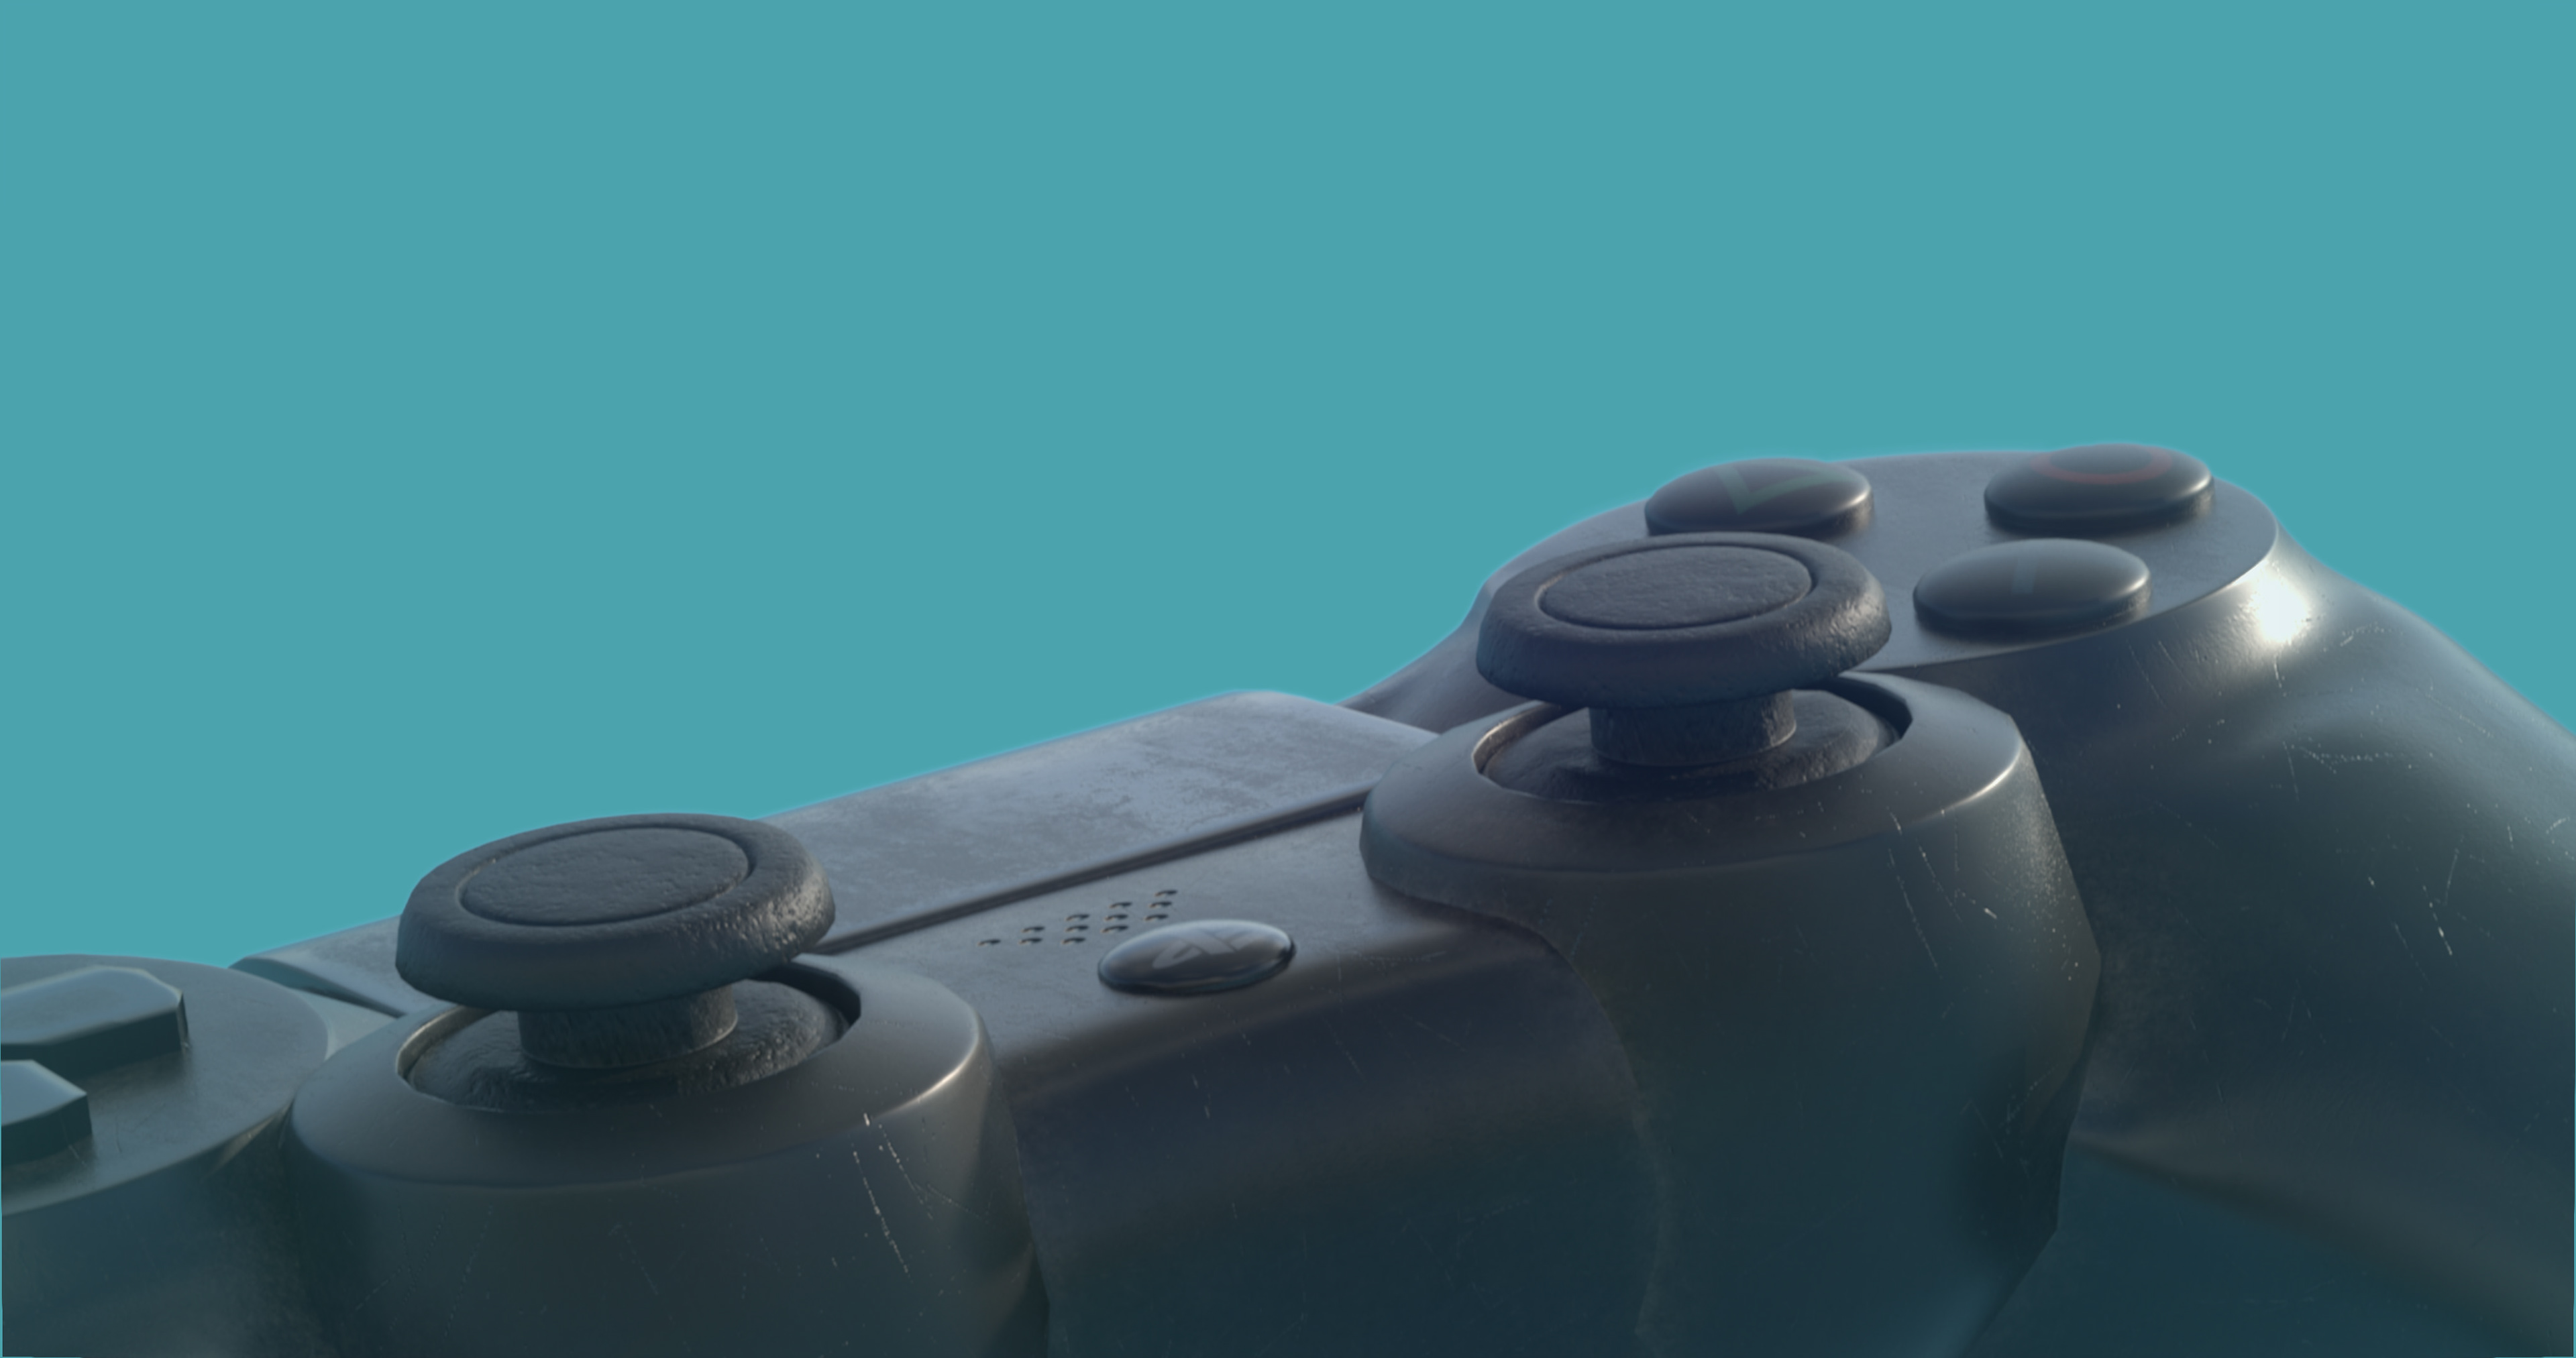
Next, I tackled the wear-and-tear phase, adding subtle scratches, dust, and smudges to make the controller look like it had been well-used. I frequently checked the IRay renderer to ensure the textures looked natural and believable under different lighting conditions. This stage added so much character to the model and helped elevate the realism.
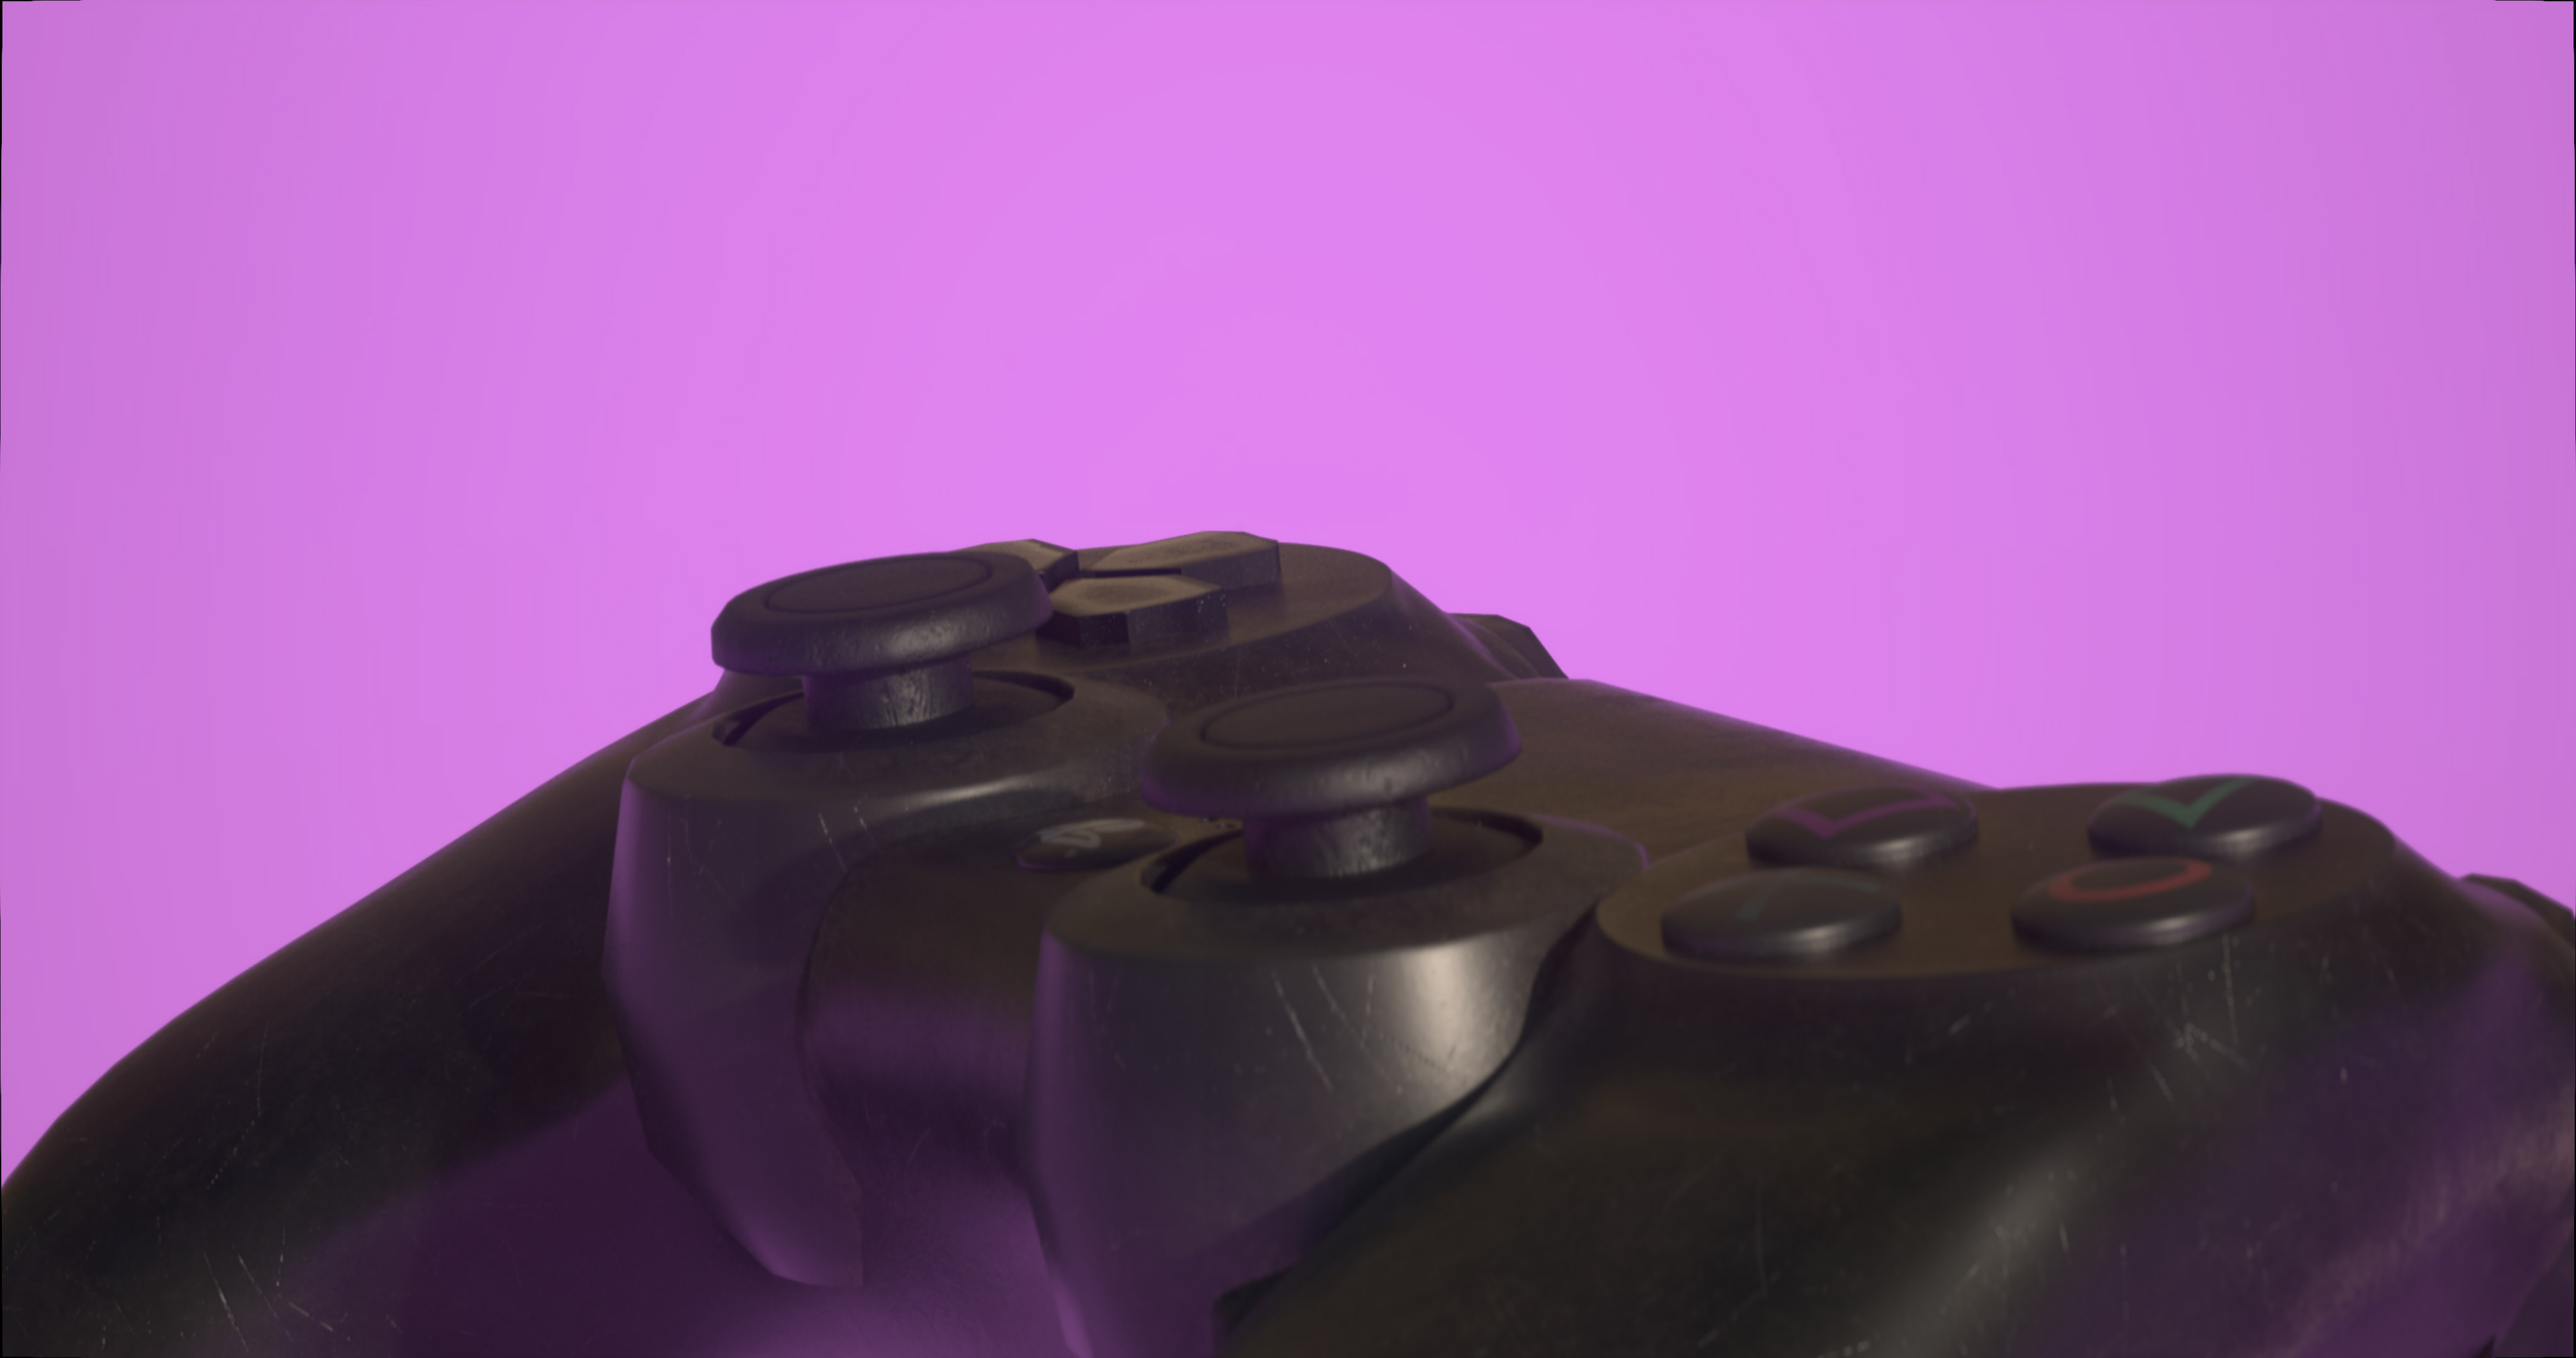
When it came to rendering, I used Substance Painter’s built-in IRay renderer. I applied effects sparingly—depth of field, lens distortion, color correction, lens glare, and a vignette—to enhance the final presentation without overdoing it. To tie the renders into the PlayStation theme, I matched the environment colors to the hues of the controller’s iconic buttons. I also used a focal length of 100mm for a cinematic close-up feel, which worked beautifully for highlighting the textures and details. Finally, I rendered the shots in 4K to ensure high-quality results.
While I wasn’t able to include some details—like the Share and Options buttons, the ports, the light strip on the back, and the seam separating the top and bottom halves—I’m proud of what I accomplished in such a short timeframe. This project challenged me to work efficiently, refine my texturing skills, and pay close attention to the details that bring a model to life. It’s not perfect, but it’s a milestone in my journey as a 3D artist, and I can’t wait to tackle my next project with the lessons I’ve learned.