Bane Sculpt
I worked on one of my favorite projects to date for my ZBrush class—a character sculpt that I tackled after completing my crocodile sculpt. This piece taught me so much about the sculpting process, from concept to final render, and solidified my love for digital sculpting.
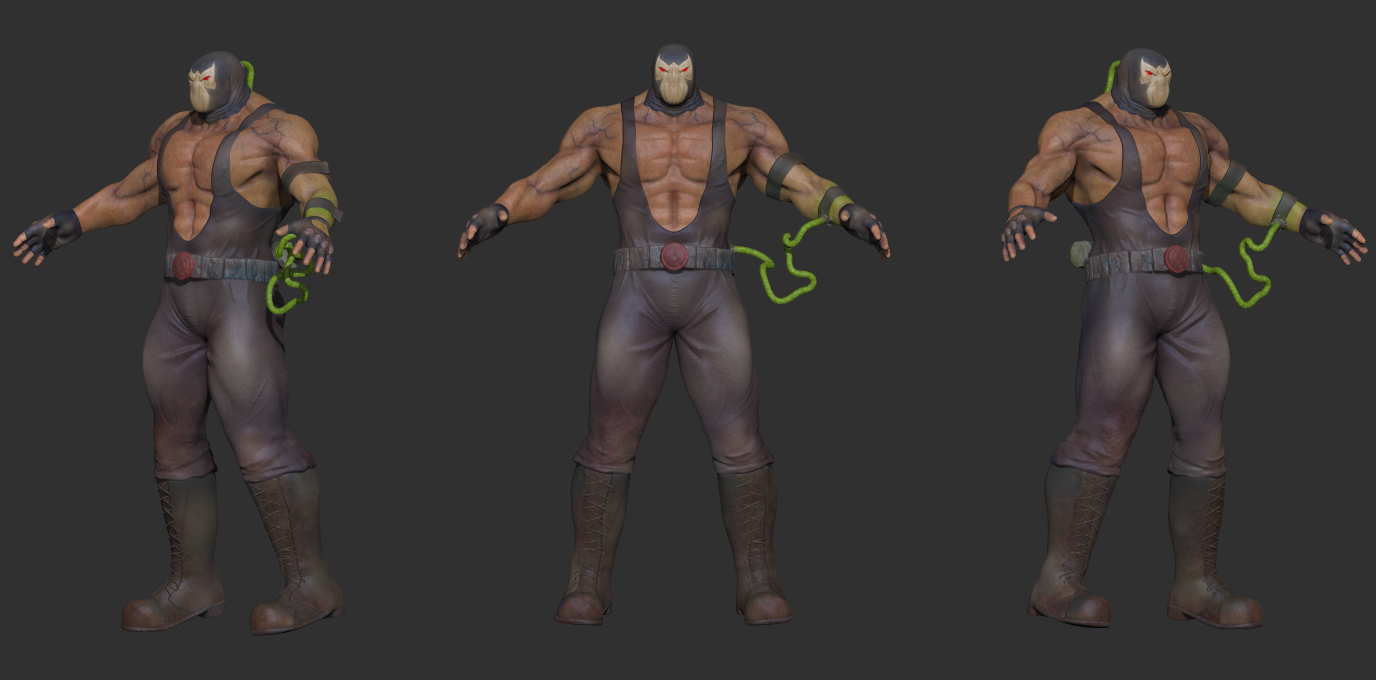
I started the project the way I always do: by gathering plenty of references. From there, I used ZSpheres in ZBrush to block out the main shapes. It’s such a versatile tool for establishing the base anatomy and proportions. Once the base was in place, I moved on to sculpting in the details, adding subdivisions, and refining the forms. This part was incredibly time-consuming (as any ZBrush artist knows), but I genuinely enjoy the process, so the long hours didn’t feel like a chore.
For the accessories like the belt and straps, I turned to ZModeler, a tool that offers precise control for hard-surface modeling. The clothes, mask, and gloves came together by duplicating the base mesh and sculpting in the necessary details, such as folds and creases. I vaguely remember using the IMM Curve Brush to model the tubes—wrangling them into place was a frustrating task, but I eventually got them into a decent position. Challenges like that are all part of the process!
One of the most exciting stages was working on the textures and alphas. I scoured the internet to find just the right assets for the skin and fabrics, which really brought the model to life. Importing and applying these textures is one of my favorite parts of sculpting—it’s like watching your vision finally take shape.
When it came time to paint, I decided to stick with ZBrush’s PolyPaint tool, as I hadn’t yet learned Substance Painter. I relied heavily on references of Bane, bodybuilders, and clothing to nail the colors, gradients, and overall look. The PolyPaint tool allowed me to layer the details gradually, and once I was happy with the result, I moved on to lighting and rendering.
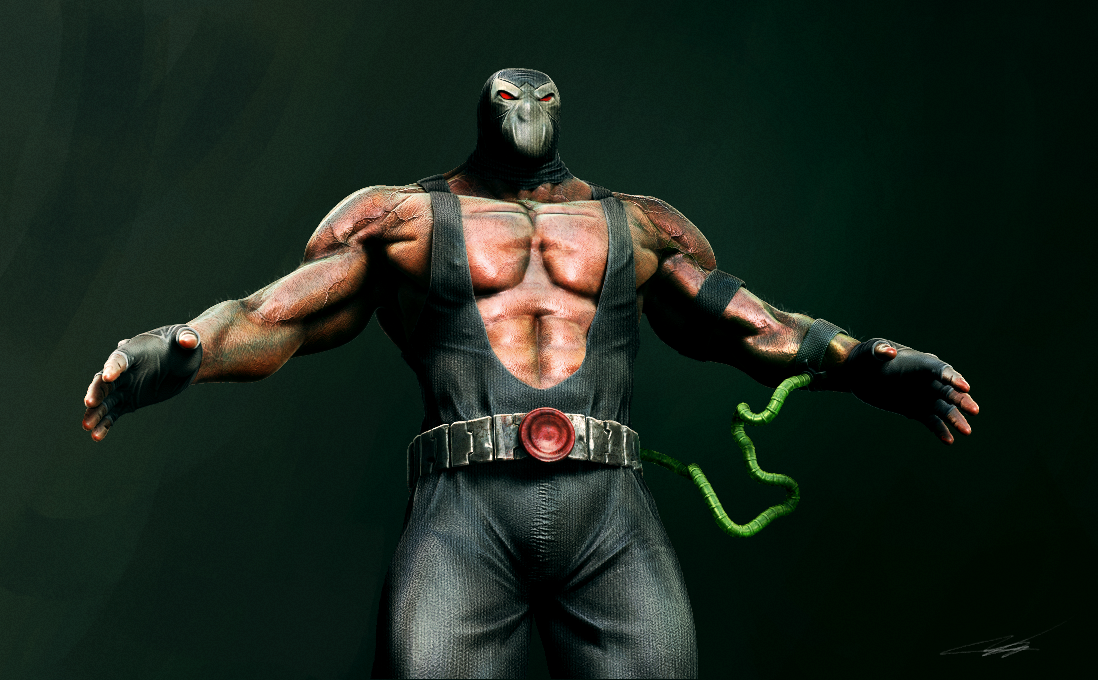
This stage involved a lot of experimentation. I adjusted the lighting and render settings to get the mood just right and exported each render pass as a PSD file—probably around 15–20 passes in total. I also rendered the model with various matcap materials, which added even more depth to the final look.
In Photoshop, I brought all the PSD files together and began compositing. This part felt like piecing together a puzzle as I layered materials and render passes to create a polished result. I even designed a neat background with a concept brush to tie it all together. By the end, I was thrilled with how everything came out.
Much like the belt, tubes, and clothes, I created the eyes separately from the main body. Every element of this sculpt came together through countless hours of iteration, problem-solving, and patience. Looking back, this project wasn’t just an assignment—it was an exploration of what I could accomplish as an artist.
Even though I haven’t been able to use ZBrush much since (being a full-time student on a budget makes the perpetual license a goal I’m still saving for), this project reminds me why I love sculpting so much.