The Foundations of Strong Line Art & Sketching

"Line art is the backbone of strong artwork—every great design starts with a confident stroke."
If there’s one skill that ties every great artist together—whether they work in comics, animation, illustration, or whatever—pick your poison!—it’s strong line art and sketching. These aren’t just beginner exercises or warm-ups. I get it—at first, they might seem daunting, maybe even boring, like a step you’d rather rush through. But trust me, they’re the backbone of every drawing. No amount of color, texture, or rendering can fully save a weak foundation—I’ve learned that the hard way! Even now, I still catch myself making mistakes.
Think about your favorite artists. Their work might be polished and detailed, but underneath it all, there’s a structure—a confident sketch, purposeful lines. When your sketches are solid, everything else in your artwork falls into place more naturally. Your characters feel more alive, your compositions more dynamic, and your style more intentional. Before animation school, I didn’t think about foundations or construction at all. I never considered my art in 3D space, the line of action, or how I could push a pose to make it more dynamic—and my work suffered for it.
In this post, we’ll break down what makes strong line art and sketching so important, and how you can build a foundation that sets you up for success. Whether you're just starting out or refining your craft, these principles will help you create with more confidence and clarity.

Gesture Drawing
Gesture drawing is one of the best ways to loosen up and breathe life into your sketches, and I recommend it to be the first thing you think about when you're staring at a blank canvas. It’s all about capturing movement, weight, and flow rather than getting caught up in tiny details. A strong gesture drawing lays the groundwork for a dynamic, expressive pose—something that stiff, overly careful sketches often lack.
When I first started gesture drawing in college, I treated it like a warm-up—quick, messy, and with no pressure to make it perfect. But over time, I realized it was doing way more than just getting my hand moving. It was teaching me how to see the bigger picture, to focus on the feel of a pose before worrying about anatomy or details. Throw your line of action down- but don't just copy the model- really push it! This is the foundation of a really solid sketch.
By practicing gestures, you train your brain to simplify complex forms, improving your ability to sketch with confidence and rhythm. Whether you're designing characters, animating, or just trying to add more energy to your work, gesture drawing helps bridge the gap between stiff, lifeless poses and ones that feel natural and alive. Taking what you know about gesture drawing into the 3D world- it allows your animation or models to be more fluid- Look at the greats over at Disney- everything is animated with purpose, with life, with fluidity- it's in the principles of animation.
If you ever catch yourself overworking a drawing or getting stuck in the details too soon, take a step back and focus on the gesture first. You’ll be surprised at how much it changes the way you approach your art.
Proportions and Anatomy
Getting proportions right is one of the biggest game-changers in sketching—especially when it comes to drawing people. It’s the difference between a character that feels believable and one that feels just a little... off. And trust me, when proportions are off, people notice, even if they can’t quite pinpoint why.
Before I really studied anatomy, I used to rely on guesswork. I’d draw a head, then just kind of wing it for the body. I didn't start with constructional lines or gesture. It almost never worked, my characters looked wonky—too short, too stretched, arms that didn’t quite match up, muscles that didn't exist. Once I started understanding the basic rules of proportion, things clicked into place.
For example, the average human figure is about seven to eight heads tall, with the arms extending roughly to mid-thigh. These simple guidelines help keep your characters looking natural, even if your style is exaggerated or cartoony. And once you get comfortable with proportions, sketching becomes way easier—you’re no longer second-guessing every limb placement or tweaking things endlessly to make them look right.
Of course, anatomy isn't about memorizing a bunch of rules—it’s about understanding why the body moves and looks the way it does. A strong grasp of structure lets you break the rules intentionally rather than by accident. A solid foundation in anatomy gives you the freedom to experiment while keeping your characters grounded and believable.
If you’ve ever struggled with stiff poses or proportions that don’t feel quite right, try spending some time breaking down the human for or do some studies in your sketchbook. Once you get a feel for the basics, sketching becomes way more intuitive—and way more fun.
Sketching Process:
A clean, refined sketch doesn’t just happen—it's the result of consistent practice and thoughtful technique.
- Gather Reference: Whether you’re sketching a human figure or an object, references are essential for accuracy. Don’t be afraid to use photos or real-life objects to guide your sketch. The better your references, the more believable and dynamic your sketches will be.
Gesture: Start with a quick gesture drawing to push the pose, and figure out some fundamentals before moving forward.
-
Construction Lines: After the gesture, I start to think in 3D. Start with light, basic shapes to map out your composition. This will give you a skeleton to work with, and you can refine it as you go. Just focus on getting the proportions and placement right.
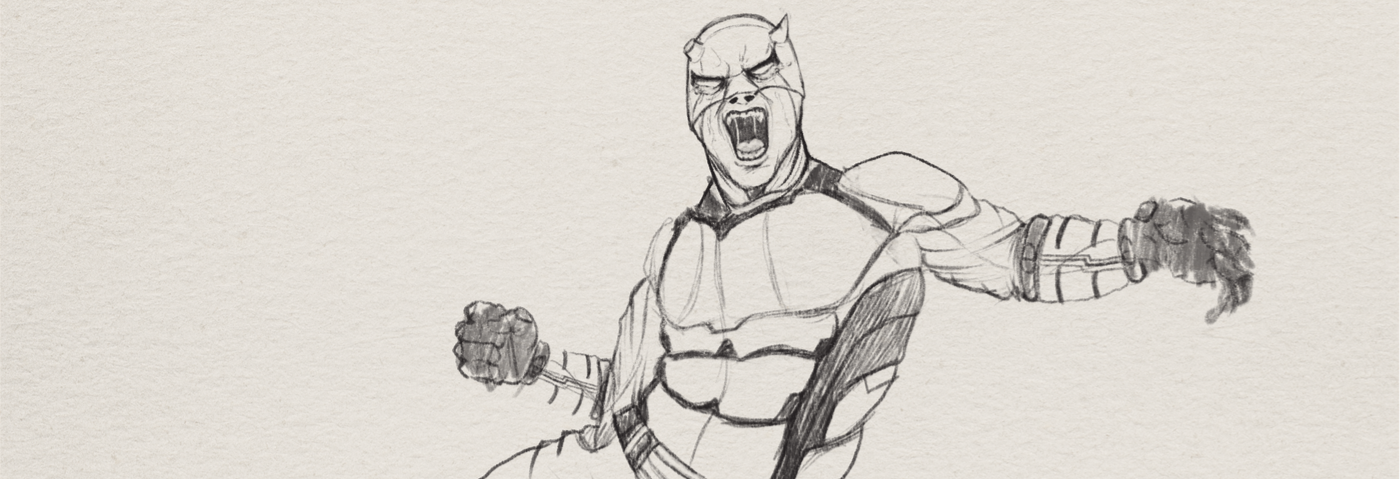
The Rough Sketch: Start refining your forms, adding key features, and outlining your composition. Don’t worry about perfection—this is where you get the basic structure in place.
-
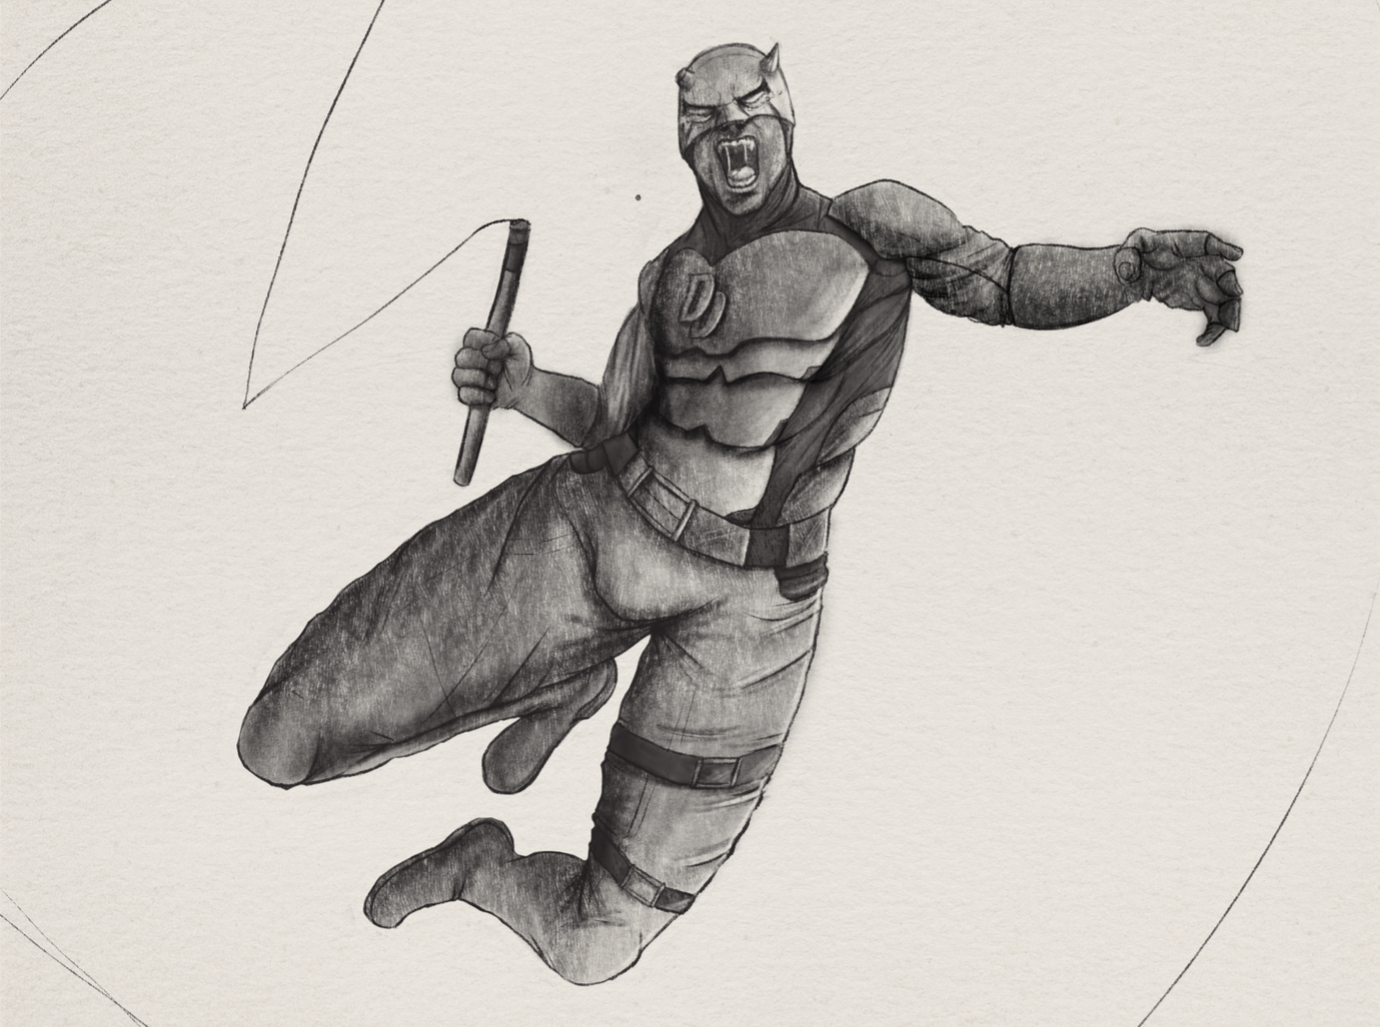
Clean Up and Refinement: As you refine your sketch, use a lighter touch for the areas you want to keep clean. If you're working digitally, you can always adjust your layers, but if you're working traditionally, gently erase your construction lines to leave only the refined sketches behind.
If you still struggle with drawing- even with reference, something that helps me is using programs such as MagicPoser or Clip Studio to create 3D poses. These poses can be used to draw over, understand where your line of action is, basic proportions, etc. I don't use this to "trace", rather- it's a way to make sure I am starting off properly- I rarely use the pose past the gesture/ construction stage. In the short time I've been using this method, it has helped enforce my understanding of proportion, foreshortening, and anatomy- So I strongly recommend this! Here is MagicPoser for your convenience! I will do a video on this soon, so you can understand the 3D way of thinking!

In the end, strong line art and sketching are more than just technical skills—they are the foundation of every great piece of art. Whether you're designing characters, creating comics, or working in any other medium, the strength of your lines and the confidence of your sketches will shape the quality of your work. By mastering the fundamentals of line quality, gesture, proportions, and anatomy, you're setting yourself up for success in every creative endeavor.
But the key here is practice. The more you sketch, the better you'll get at translating your ideas onto paper (or screen). Don’t be afraid to experiment with different techniques and tools—find what works for you and make it your own. Keep challenging yourself, and remember that each sketch is a step toward improving your skills.
So grab your pencil, stylus, or whatever tool you love, and start sketching! There's a whole world of creativity waiting for you to explore.
Happy sketching,
Braden

Subscribe to the Creative Crust Club
Get 20% Off your first order, early access to our free Penciller Pack, the Creative Crust Blog, and more!
Thank you for subscribing!
Have a great day!